The first thing you will want to do is configure your up your Website Settings. Some of the fields you fill in the Site Setup appear in sections of your website. Think of this section as more of your 'global' settings.
- Click Site Setup in the Admin Navigation or select Site Settings from the dropdown.

- Input your default site information and choose your site options for each section.
- Once you are done, click Update Settings at the bottom of the page.
- Regenerate your site for the changes to take effect. You can update your setup at any time.
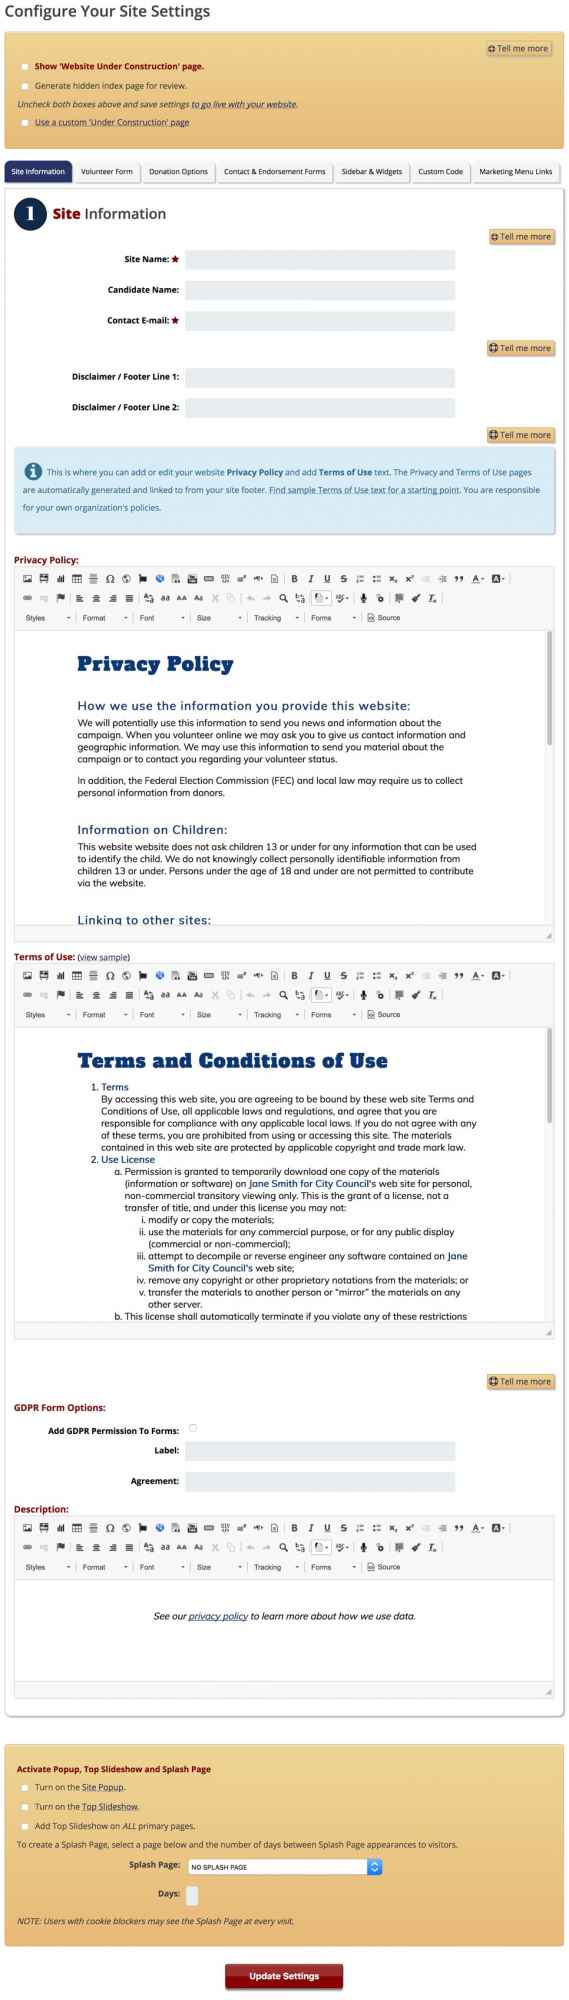
Configure Your Site Settings
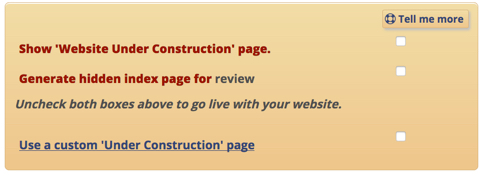
Website Under Construction Page
When you are ready to go live with your website, uncheck this box, then regenerate your website to make your website live. Until the site is live, an Under Construction page will show.
Hidden Index Page:
Allows you direct access to view the site before you make it live. Visitors will still see the under construction page.
Use Custom Under Construction Page:
Instead of using the default Under Construction page, you ca create a customized one.
Section 1: Primary Site Settings
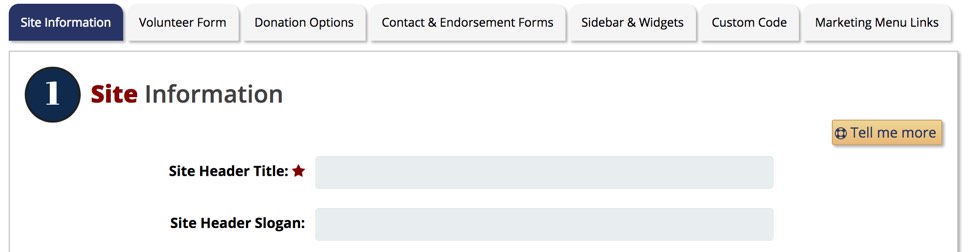
Site Header Information - LITE PACKAGE & MONTHLY OPTION ONLY

Site Header Title - LITE PACKAGE & MONTHLY OPTION ONLY
Candidate or campaign title to appears as in the banner header. You can use HTML code - <br>, <strong>, <em>
Site Header Slogan - LITE PACKAGE & MONTHLY OPTION ONLY
Candidate or campaign slogan to appear in the banner header. You can use HTML code - <br>, <strong>, <em>
Site Name:
The information you input here will appear on the Under Construction Page and as on the Title Bar of your web browser. We recommend using the Candidate’s name, office running for and location. This a required field.

Candidate’s Name:
This a required field.
Candidate Slogan:
Candidate’s Slogan.
Contact E-mail:
Email address forms are sent to.
Disclaimer/Footer Text Line 1:
The Site Disclaimer or Footer Text will appear at the bottom of your site pages. Most candidates use some form of: Campaign website paid for by (The Campaign to Elect Jane Smith).
Disclaimer/Footer Text Line 2:
Second line for the Site Disclaimer or Footer Text

Privacy Policy:
Alter the default Privacy Policy to your standards. Privacy Policy Link is shown in the Footer Bar.
Terms of Use:
You can alter a template Terms of Use policy to your standards. Terms of Use Link is shown in the Footer Bar.
GDPR Form Options:
This section will append your forms if activated. It is designed to help your site comply with General Data Protection Regulation (GDPR), which is a European Union (EU) law that became effective on May 25th, 2018. The purpose of this law is to give EU citizens control over their personal data and change how companies and businesses handle data privacy around the world.
To make your forms GDPR compliant, you need the following:
- Ask users to give explicit consent for storing and using their personal information.
- Allow users to request access to their own personal information stored on your website.
- Allow users to request deletion of their data from your website.Users who wish to access their stored data or want it to be deleted can send you a request as defined in your website's privacy policy.
You may need to update your privacy policy and terms of use to become GDPR-compliant. Learn more about GDPR.
Section 2: Volunteer Form Options

Volunteer Form Recipient Email
If left blank, the volunteer form will go to the primary contact email address entered in section 1.
Select Volunteer Options
Select options to appear on your volunteer form
Additional Volunteer Form Questions
Optional - these are additional checkboxes that can be added to your Volunteer Form
Volunteer Form Reply
Short acknowledgment message for when a volunteer form is sent.
Section 3: Donation Options - Raise The Money
Online Candidate fully integrates with RaiseTheMoney.com. You must sign up for a free account and have it approved first. Then add your link and choose the donation form you want to display. (Regular - Donation form appears all on one page; Wizard - Donation form in three separate steps.) Then your Raise The Money form will appear on any page where the {Form:Donate} shortcode is placed.
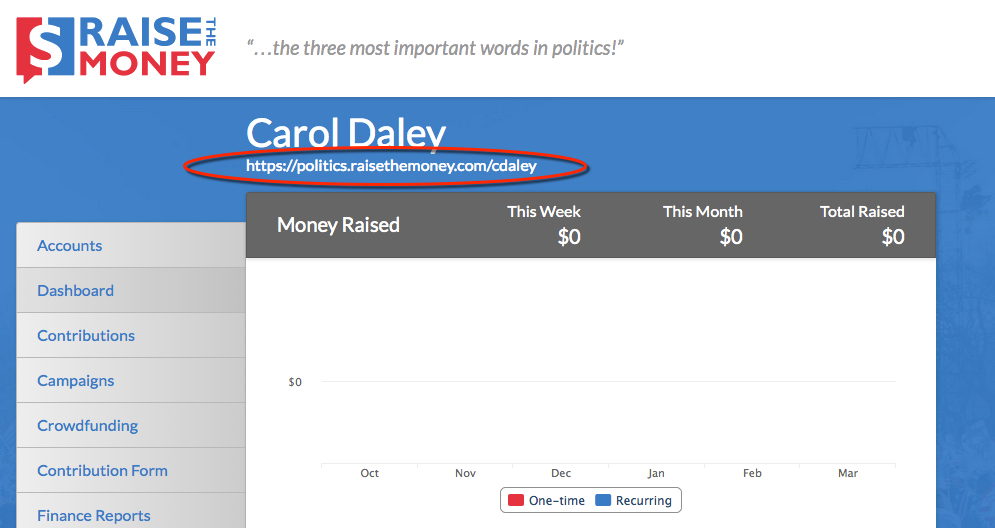
Configure your account and Contribution Form at https://www.raisethemoney.com. Once that is complete, you will see a link displayed under your name at the top of all pages as shown below.
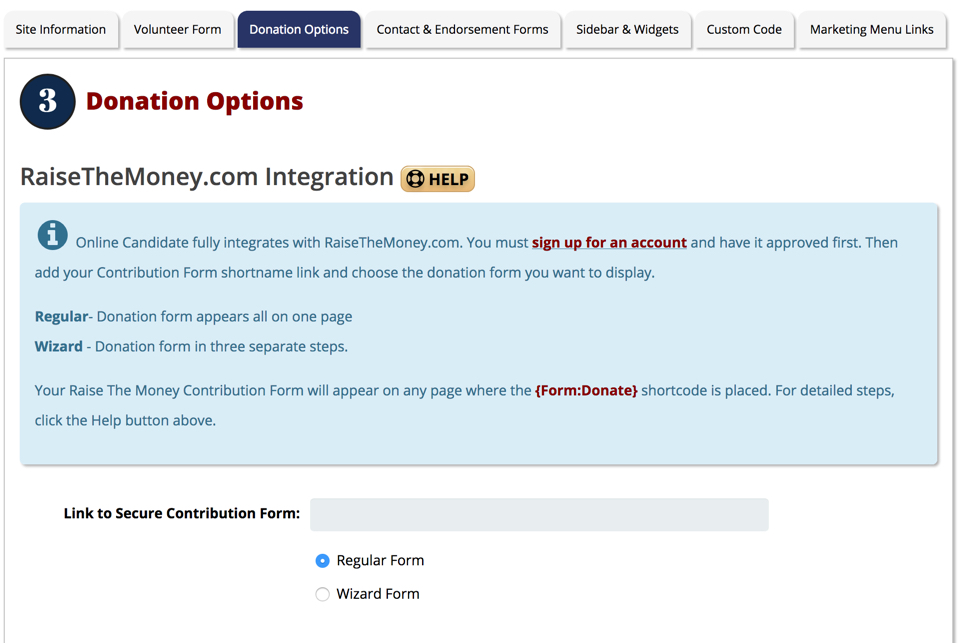
Raise The Money Integration
Your RaiseTheMoney.com link or shortname.
Regular - Donation form appears all on one page. (Recommended)
Wizard - Donation form in three separate steps.
Section 3: Donation Options - PayPal and Offline Donation Form
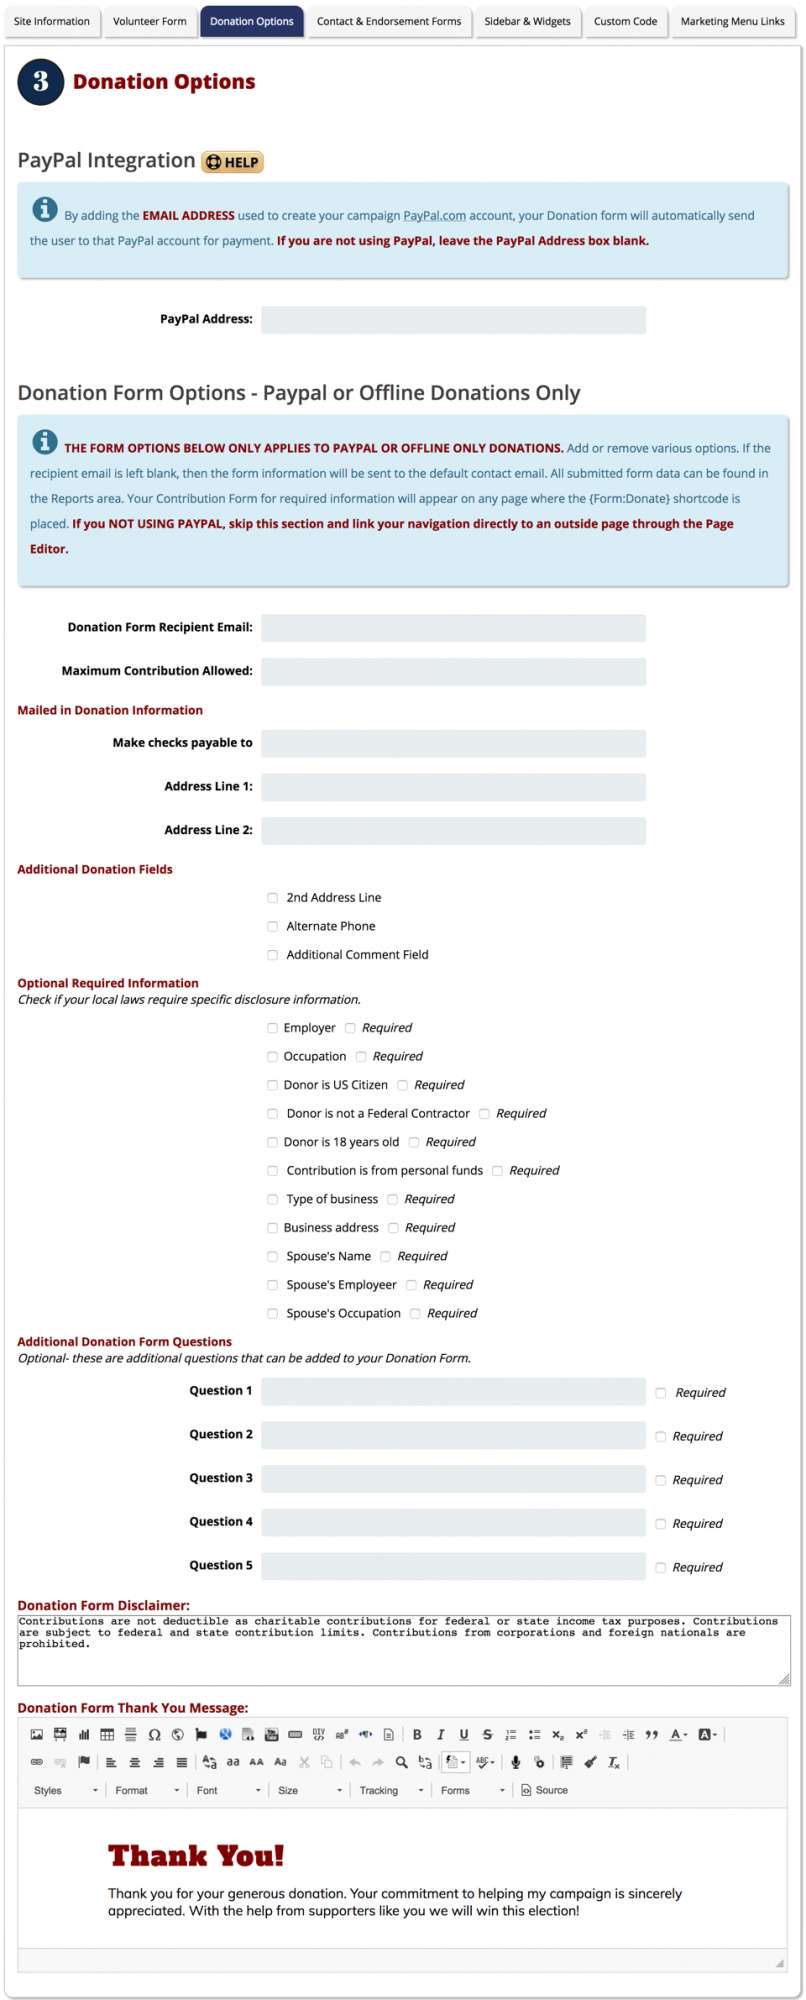
These form options are for campaigns that use PayPal or for campaigns collecting pledges that are only to be paid offline. If you are using an outside vendor donation page, you may skip this section and link your navigation directly to an outside page through the Page Editor.
PayPay Address:
If using PayPal for Donation, enter the email address used to create your PayPal account. By adding an email address below, your Donations form will, after submission, automatically send the user to PayPal to enter in credit card information. Otherwise this box should be empty.
Donation Form Recipient Email
If left blank, the volunteer form will go to the primary contact email address entered in section 1.
Maximum Contribution Allowed
Maximum Contribution that can be made. Do not add a dollar ($) sign. This information will automatically added to your Donation Page. Leave blank if no limit.
Optional Form Fields
Check any additional options you want added to the donation form. If the field is required, check the
Required Information
Check the options below if your local laws require this disclosure information.
Additional Donation Form Questions
Optional - these are additional questions that can be added to your Donation Form
Donation Form Reply Message:
Short acknowledgment message for when a donation form is sent.
Donation Form Disclaimer
Any necessary disclaimers, such as contributions are not tax-deductible, etc.
Section 4: Contact and Endorsement Form Options

Contact Form Options:
Check any additional options you want added to the contact form.
Contact Form Reply Message:
Short acknowledgment message for when a endorsement form is sent.
Endorsement Form Recipient Email:
Leave blank to send to default contact.
Endorsement Form Reply Message:
Short acknowledgment message for when a endorsement form is sent.
Section 5: Navigation and Page Options
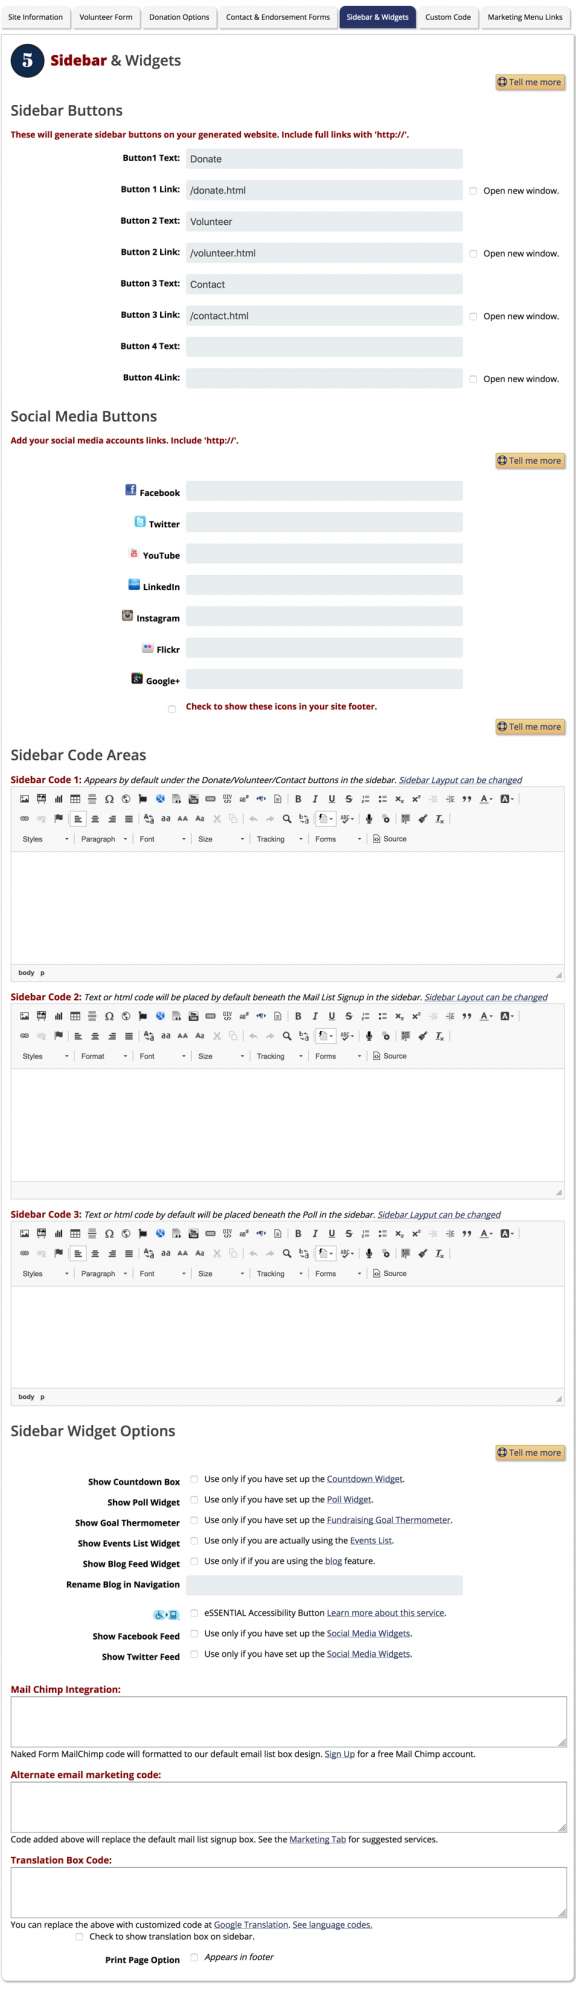
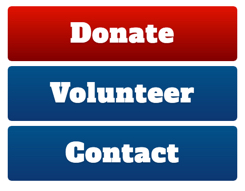
Button 1 Text:
Button 1 Link:
In the example a Donate Button has been created.
Button 2 Text:
Button 2 Link:
In the example a Volunteer Button has been created.
Button 3 Text:
Button 3 Link:
In the example a Contact Button has been created.
Button 3 Text:
Button 3 Link:
In the example a Endorse Button has been created.
OPEN NEW WINDOW: By checking the checkbox to the right, the page will open in a new window, This is useful if your donation page is hosted on another website.
Facebook Page:
Enter your Facebook page URL for button link to your Facebook page under your navigation.
Twitter Page:
Enter your Twitter page URL for button link to your Twitter page under your navigation.
YouTube Page
Enter your YouTube page URL for button link to your YouTube page under your navigation.
LinkedIn Page
Enter your Linkedin page URL for button link to your Linkedin page under your navigation.
Instagram Page
Enter your Instagram page URL for button link to your Google+ page under your navigation.
Flickr Page
Enter your Flikr page URL for button link to your Flickr page under your navigation.
Google+ Page
Enter your Google+ page URL for button link to your Google+ page under your navigation.
NOTE: Make sure to include https://www
Sidebar Code:
These 3 optional slots can be used to insert text or custom code widget.
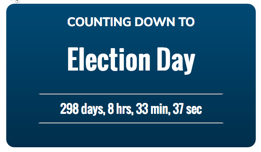
Show Countdown Box:
Use only if you have set up a Countdown Widget.
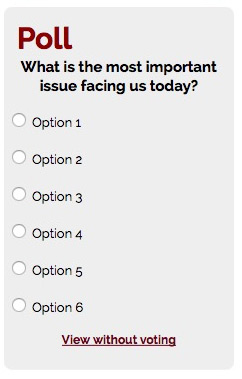
Show Survey/Poll
If checked, the default site survey will appear on the home page.
|
|
|
| Show Fundraising Goal Thermometer | 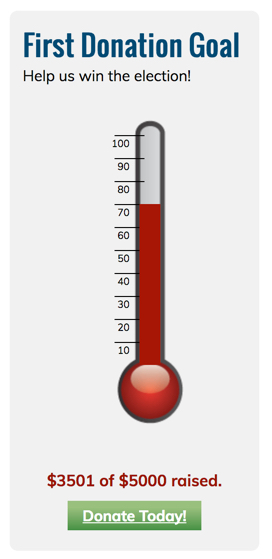 |
|
Show Events List Widget |
|
|
Show Blog Feed On Sidebar: Rename Blog in Navigation: |
 |
| Mail Chimp Integration |
If you use Mail Chimp you can add - Naked Form - code, and it will be formatted to look like our default email box. Don't forget to uncheck the Use Built-In Email List box above MailChimp - Design email newsletters, share on social media. Free for lists up to 2,000 subscribers. |
|
Alternate Email Code For larger campaigns or campaigns with mail lists that want to initially add large numbers of emails to a mail list, we recommend using a professional email service. These affordable email solutions offer enhanced functionality and tools to enhance your campaign. Trumpia - Integrated email, SMS texting and more! Double your free trial credits with promo code: onlinecandidate Aweber - One dollar, 30-Day Trial. Set up multiple lists, autoresponders and more! We use this system ourselves. |
|
|
Translation Box Code: |
|
Section 6: Custom Code Insertion
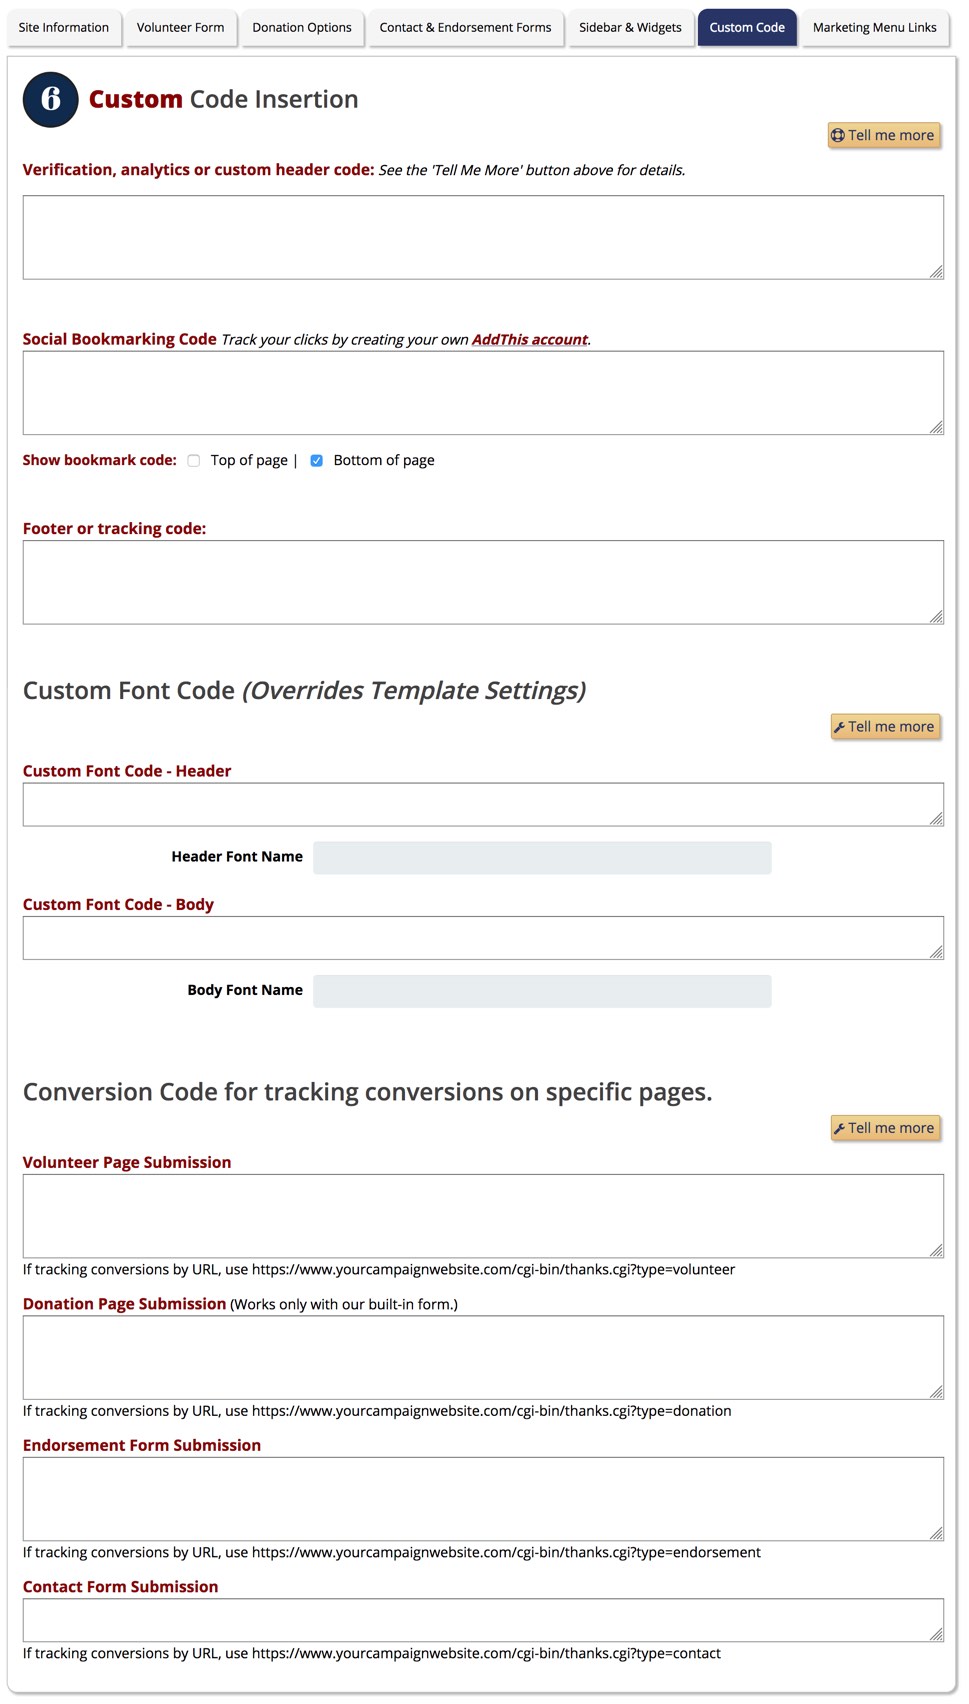
Verification or Header Code:
Place any raw code that needs to be placed in the site header. For instance, if using Google Webmaster Tools, verification code needs to be inserted into the website. You can place that code here to have it generate.
Social Bookmarking Code
Social bookmarking and link sharing is a large source of traffic for most websites. Online Candidate uses the free tool by AddThis bookmarking on all of our websites. The default code is placed in this field. You can create a FREE account with AddThis and generate custom code that can replace the default. By creating an account, you would have access to statistics on who is sharing your site, etc.
![]()
Show bookmark code:
On top of page - Click the checkbox to show the bookmarking code at the top of the page
On bottom of page - Click the checkbox to show the bookmarking code at the bottom of the page
Analytics or Tracking Code:
Place site analytics or tracking code for the site. Site Statistics do come with the Online Candidate Package, but other stats programs such as Google Analytics can be used.
Optional Conversion Code:
To be used for tracking conversions on specific pages. Add analytics tracking to measure the success of your online advertising, PPC campaigns and more.
- Volunteer Page Submission
- Donation Page Submission - Only works if using our built-in form
- Endorsement Form Submission
- Contact Form Submission
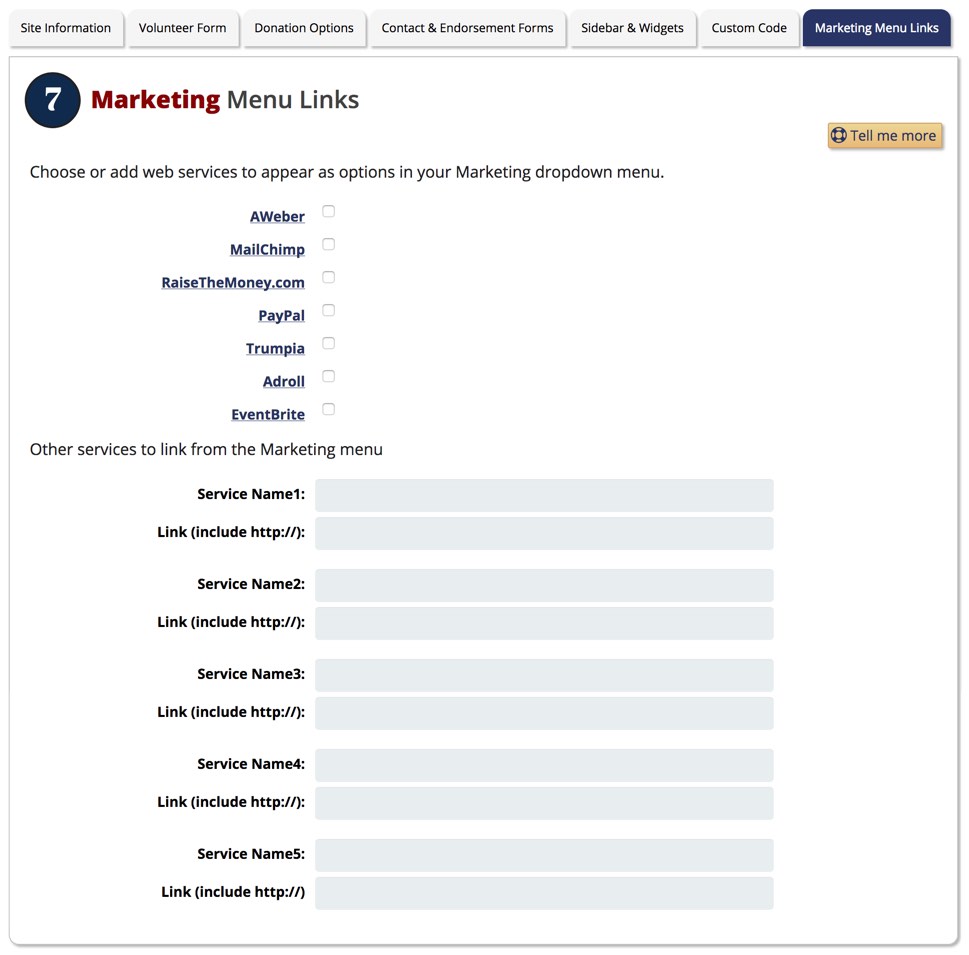
Section 7: Marketing Links
These are links you can add to the Marketing section in the menu for quick access while you are working in the site administration. It's completely optional and does not effect your website at all.
Activate Popup, Top Slideshow and Splash Page
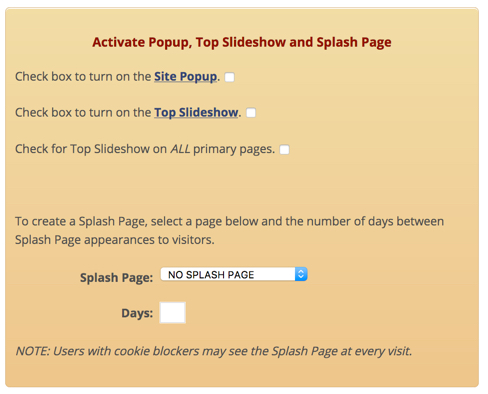
Use Popup:
Check box to turn on the site popup.
Use Top Slideshow:
Check box to turn on the Top Slideshow.
Use Top Slideshow on all Primary Pages:
Check box to turn have Top Slideshow show on ALL primary pages.
Use Splash Pages:
Select a Splash Page, and add the number of days between Splash Page appearances. NOTE: Users with cookie blockers may see the Splash Page at every visit!
